Process
Before developing our work, we needed to refine our concept. Some guiding points for this part of our project was asking the right questions in order to define the direction we were going in.
What is the purpose of our project, and what do we want to achieve through it?
How can we fine-tune our initial concept to make it more compelling and effective?
To aid us in this process, we started out with both physical and digital sketches to get a sense of our foundational vision, to ascertain that our next ideations would inform us more of the outcome we wanted to achieve. From the sketches, we moved into realising different aspects of our project—the audio, visual, and spatial components.
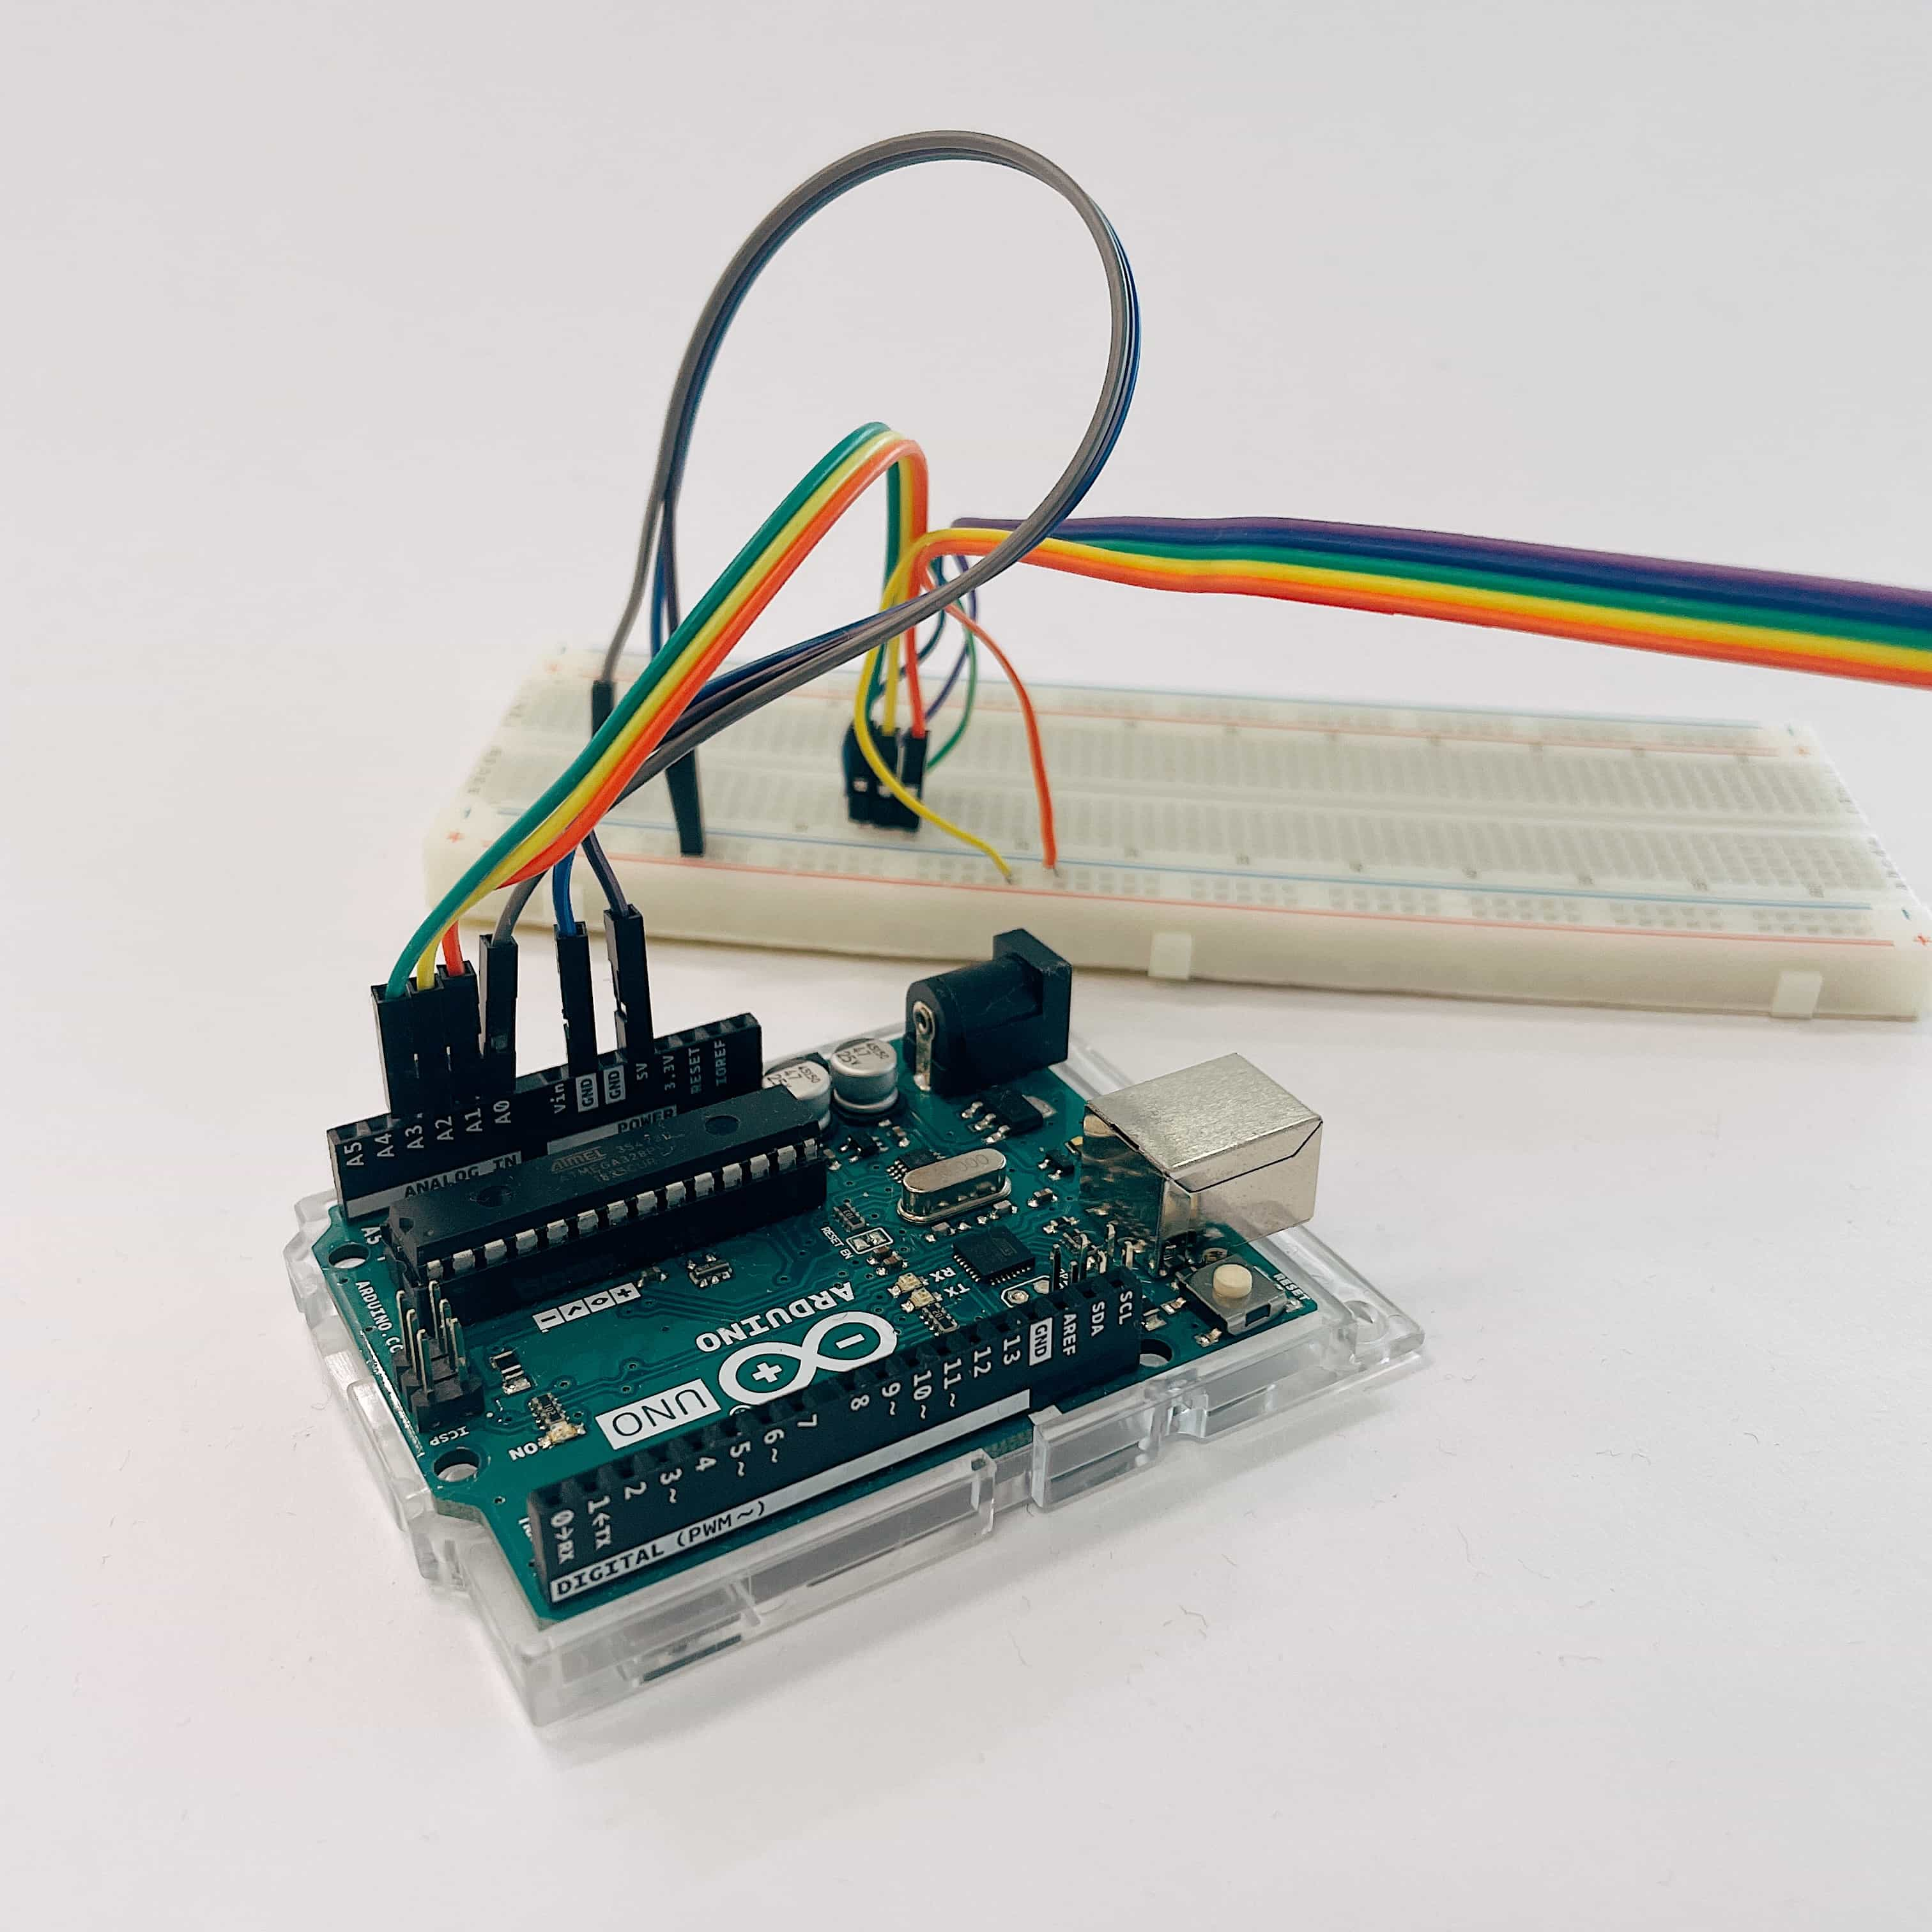
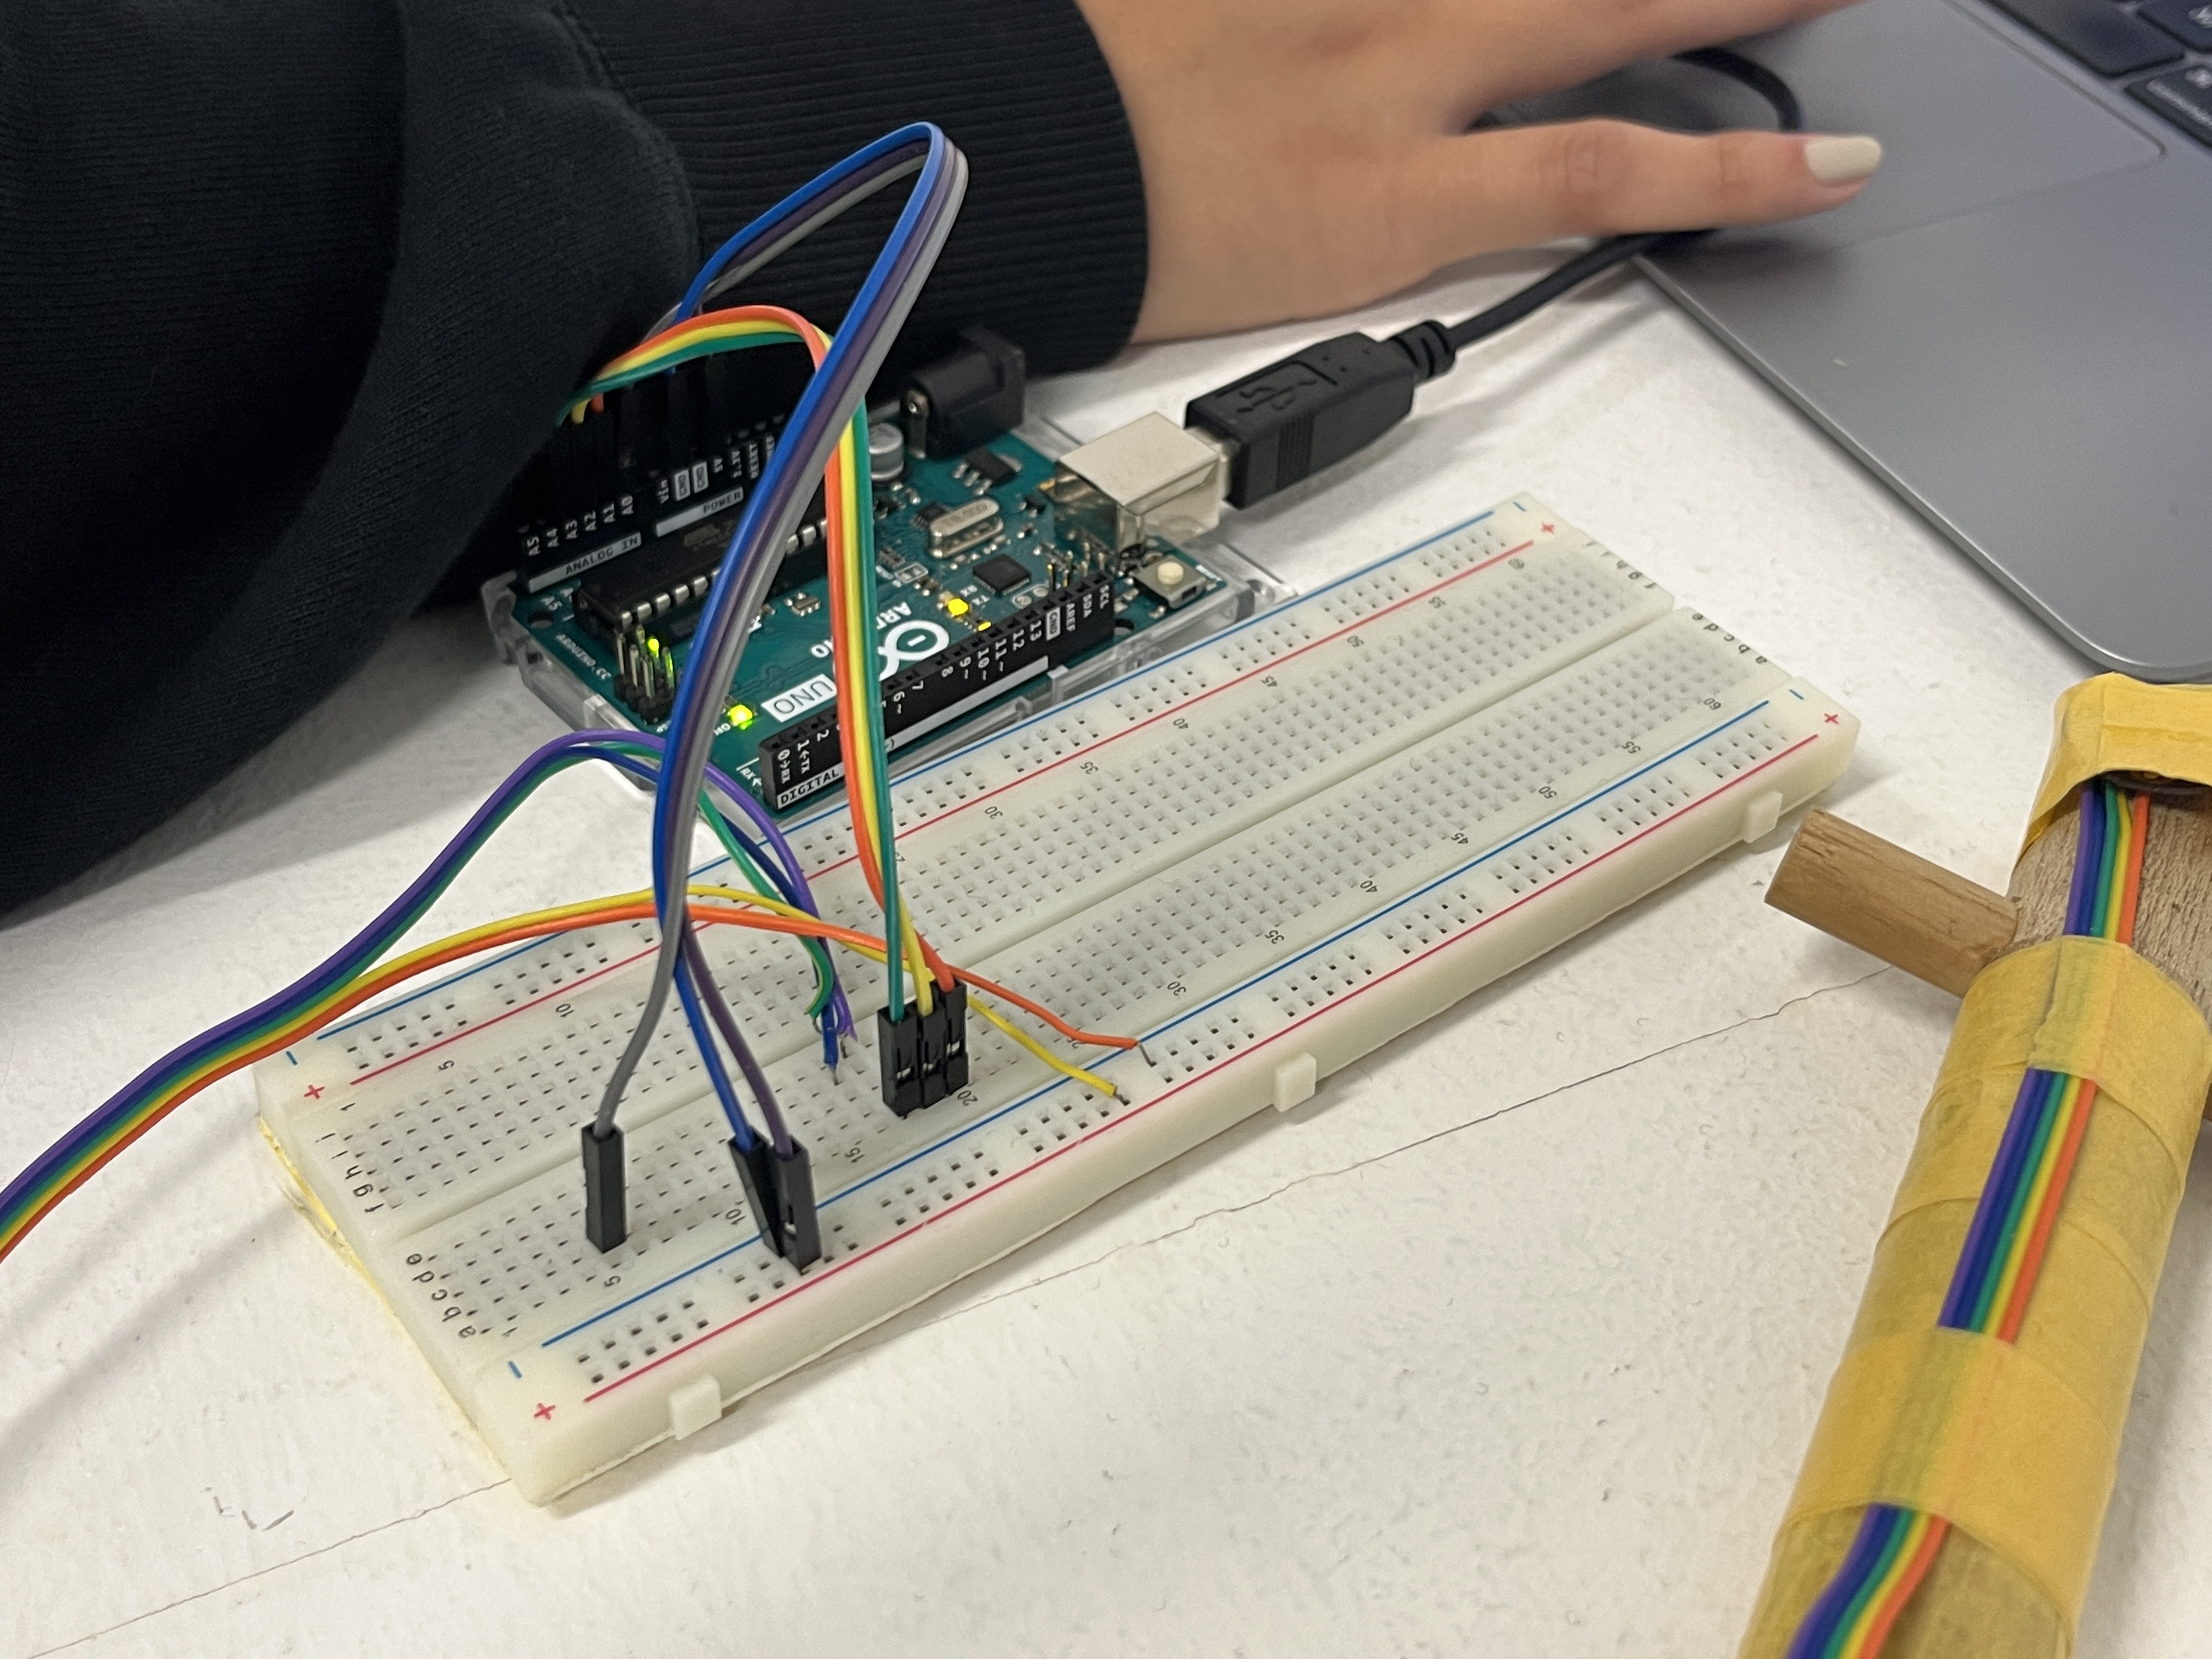
We explored different types of code on p5.js to gain an understanding of the technical elements of the interactive experience we wanted to portray. Apart from code, we experimented with using a sensor through Arduino to collect data input, and with p5.js, that data would be translated visually and can be manipulated on the spot. This helped us understand some of the limitations of our abilities regarding technical software, should we want to incorporate both Arduino and p5.js into our final product.
Testing of Ideas
The team underwent many iterations during our development and testing phase. There were certain features we had to sacrifice, such as our audio, in order for the whole project to be feasible and still make sense. Reimagining the audio aspect of our project came later on, as we thought it wise to focus on the parts with higher priority, mainly visual and spatial.
Despite having experimented with various prototypes for our visual outcomes, we couldn’t proceed with them as then, we were still unable to find a way to unify those particular p5.js codes with our Arduino sensor. This led us to create something entirely new, taking inspiration from our previous failures, and devising a new and interactive visual, the best of both worlds.
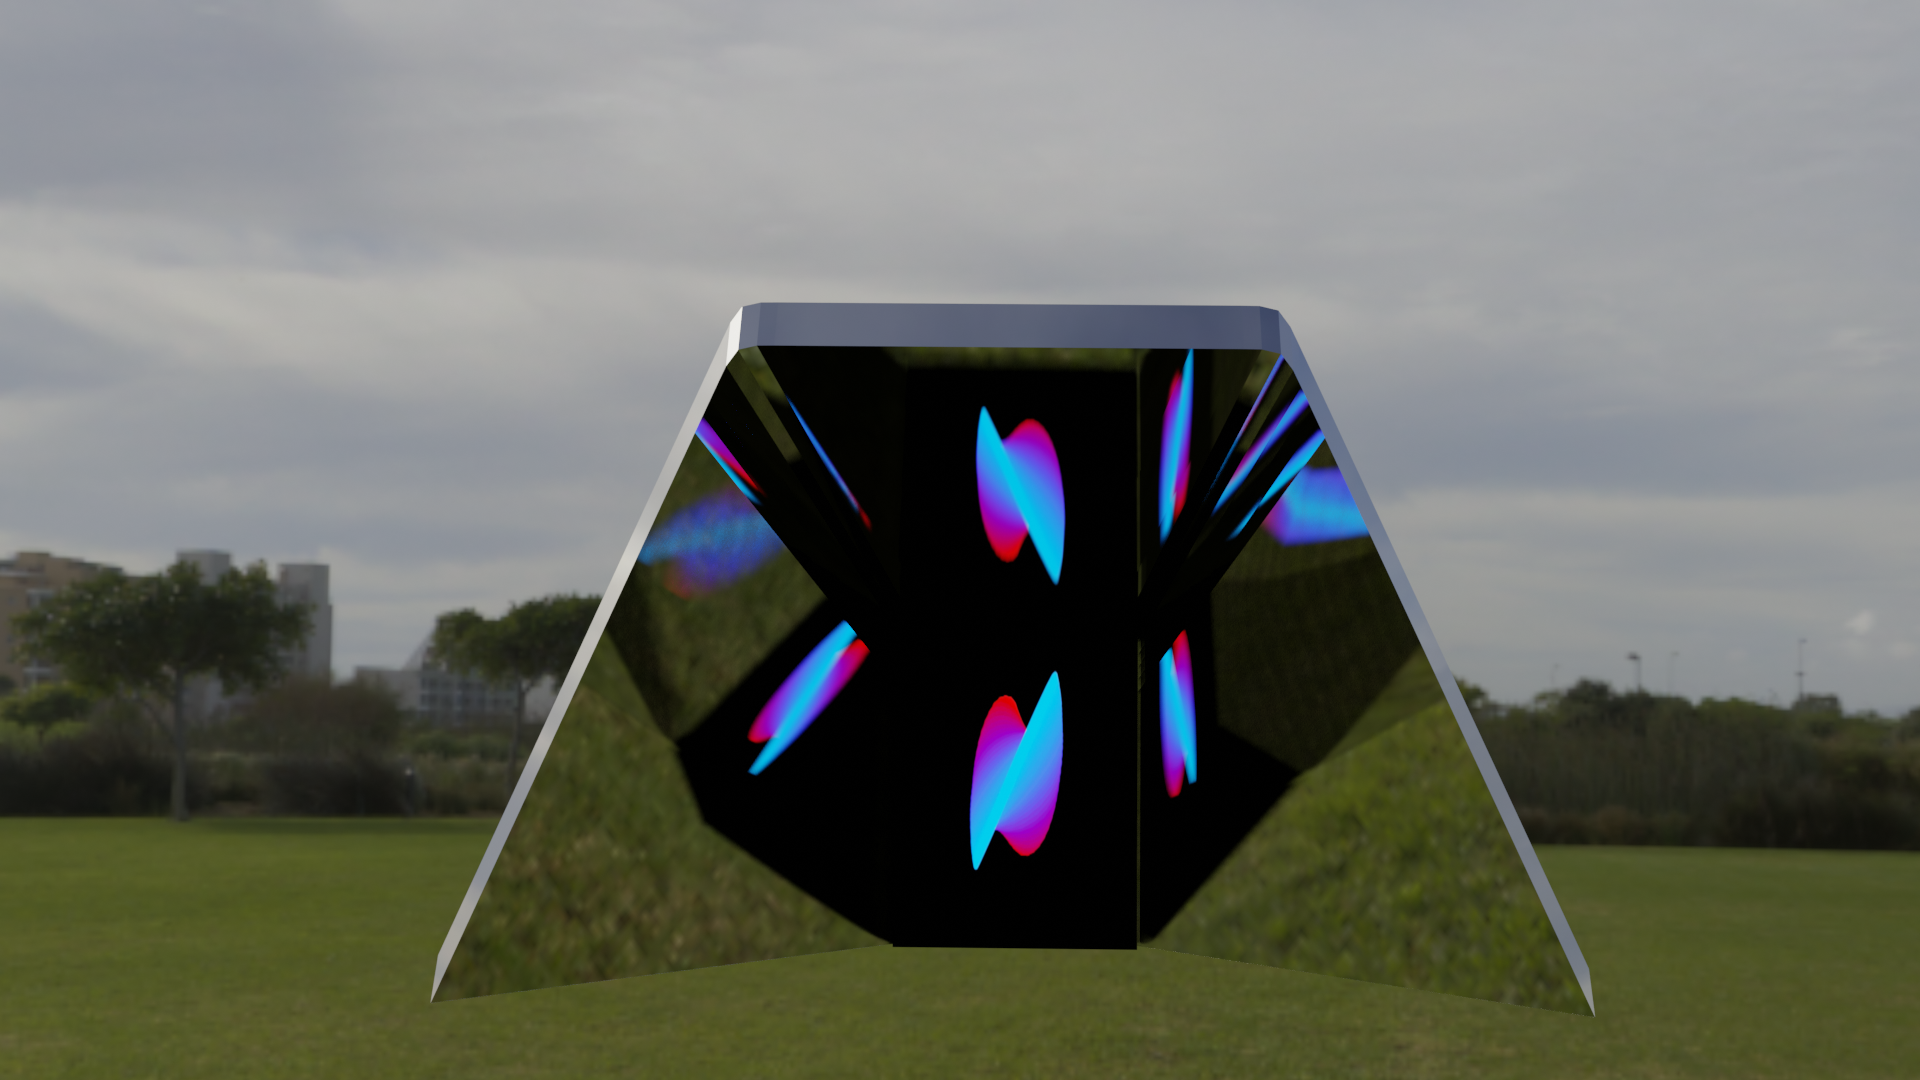
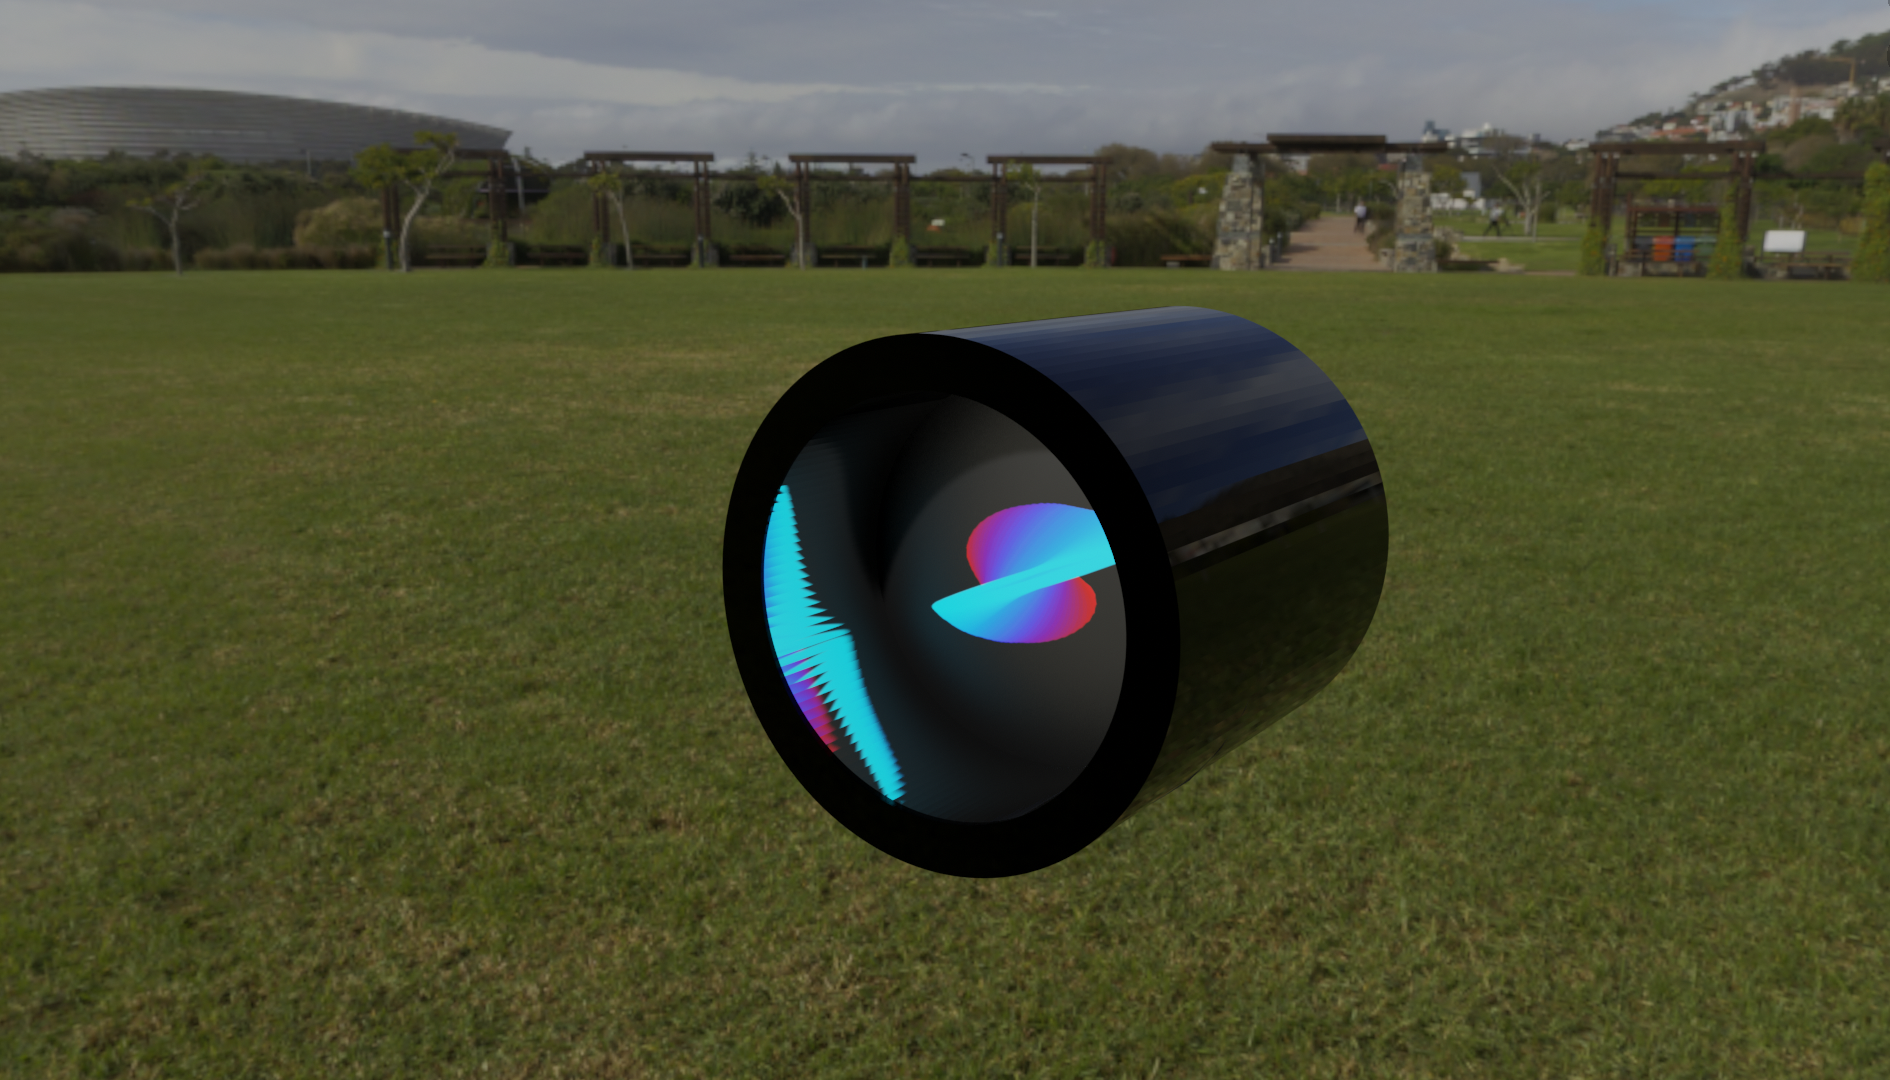
Similarly, for our spatial design, we tried a physical prototype first. By creating a mood board and looking for installations and exhibitions we liked, we managed to imbue certain elements, such as immersivity and otherworldliness, into our concepts and prototypes. One challenge we faced here was presenting this spatial design in a format our client and audience could clearly envision. This brought us to another technical limitation—creating our imagined space in Blender, a free and open-source 3D creation software.
The Prototype
With all these considerations in mind, we were ready to move on to creating our actual prototypes. As previously mentioned, our brand experience has three main components to it—audio, visual, and spatial. For the audio segment of the project, we utilised p5.js to alter the playback speed and volume of the track according to the received input; that being the user’s motion and acceleration.
Moving on to the visuals, we coded it so that the colour and size of the torus shape would change according to the angle and direction of the sensor, which would be placed in a wristband, as that is the product the team decided on for the best outcome in terms of sportswear in fitness and exercise. As such, the visual result is a generative artwork unique to each person’s exercise and movements.
As for our spatial perspectives, we used Blender to create 3D mockups in order to experiment with possible materials for the structure of the installation, and create a realistic image of the experience. With its powerful and flexible 3D modelling interface, we were able to create a convincing spatial mockup.
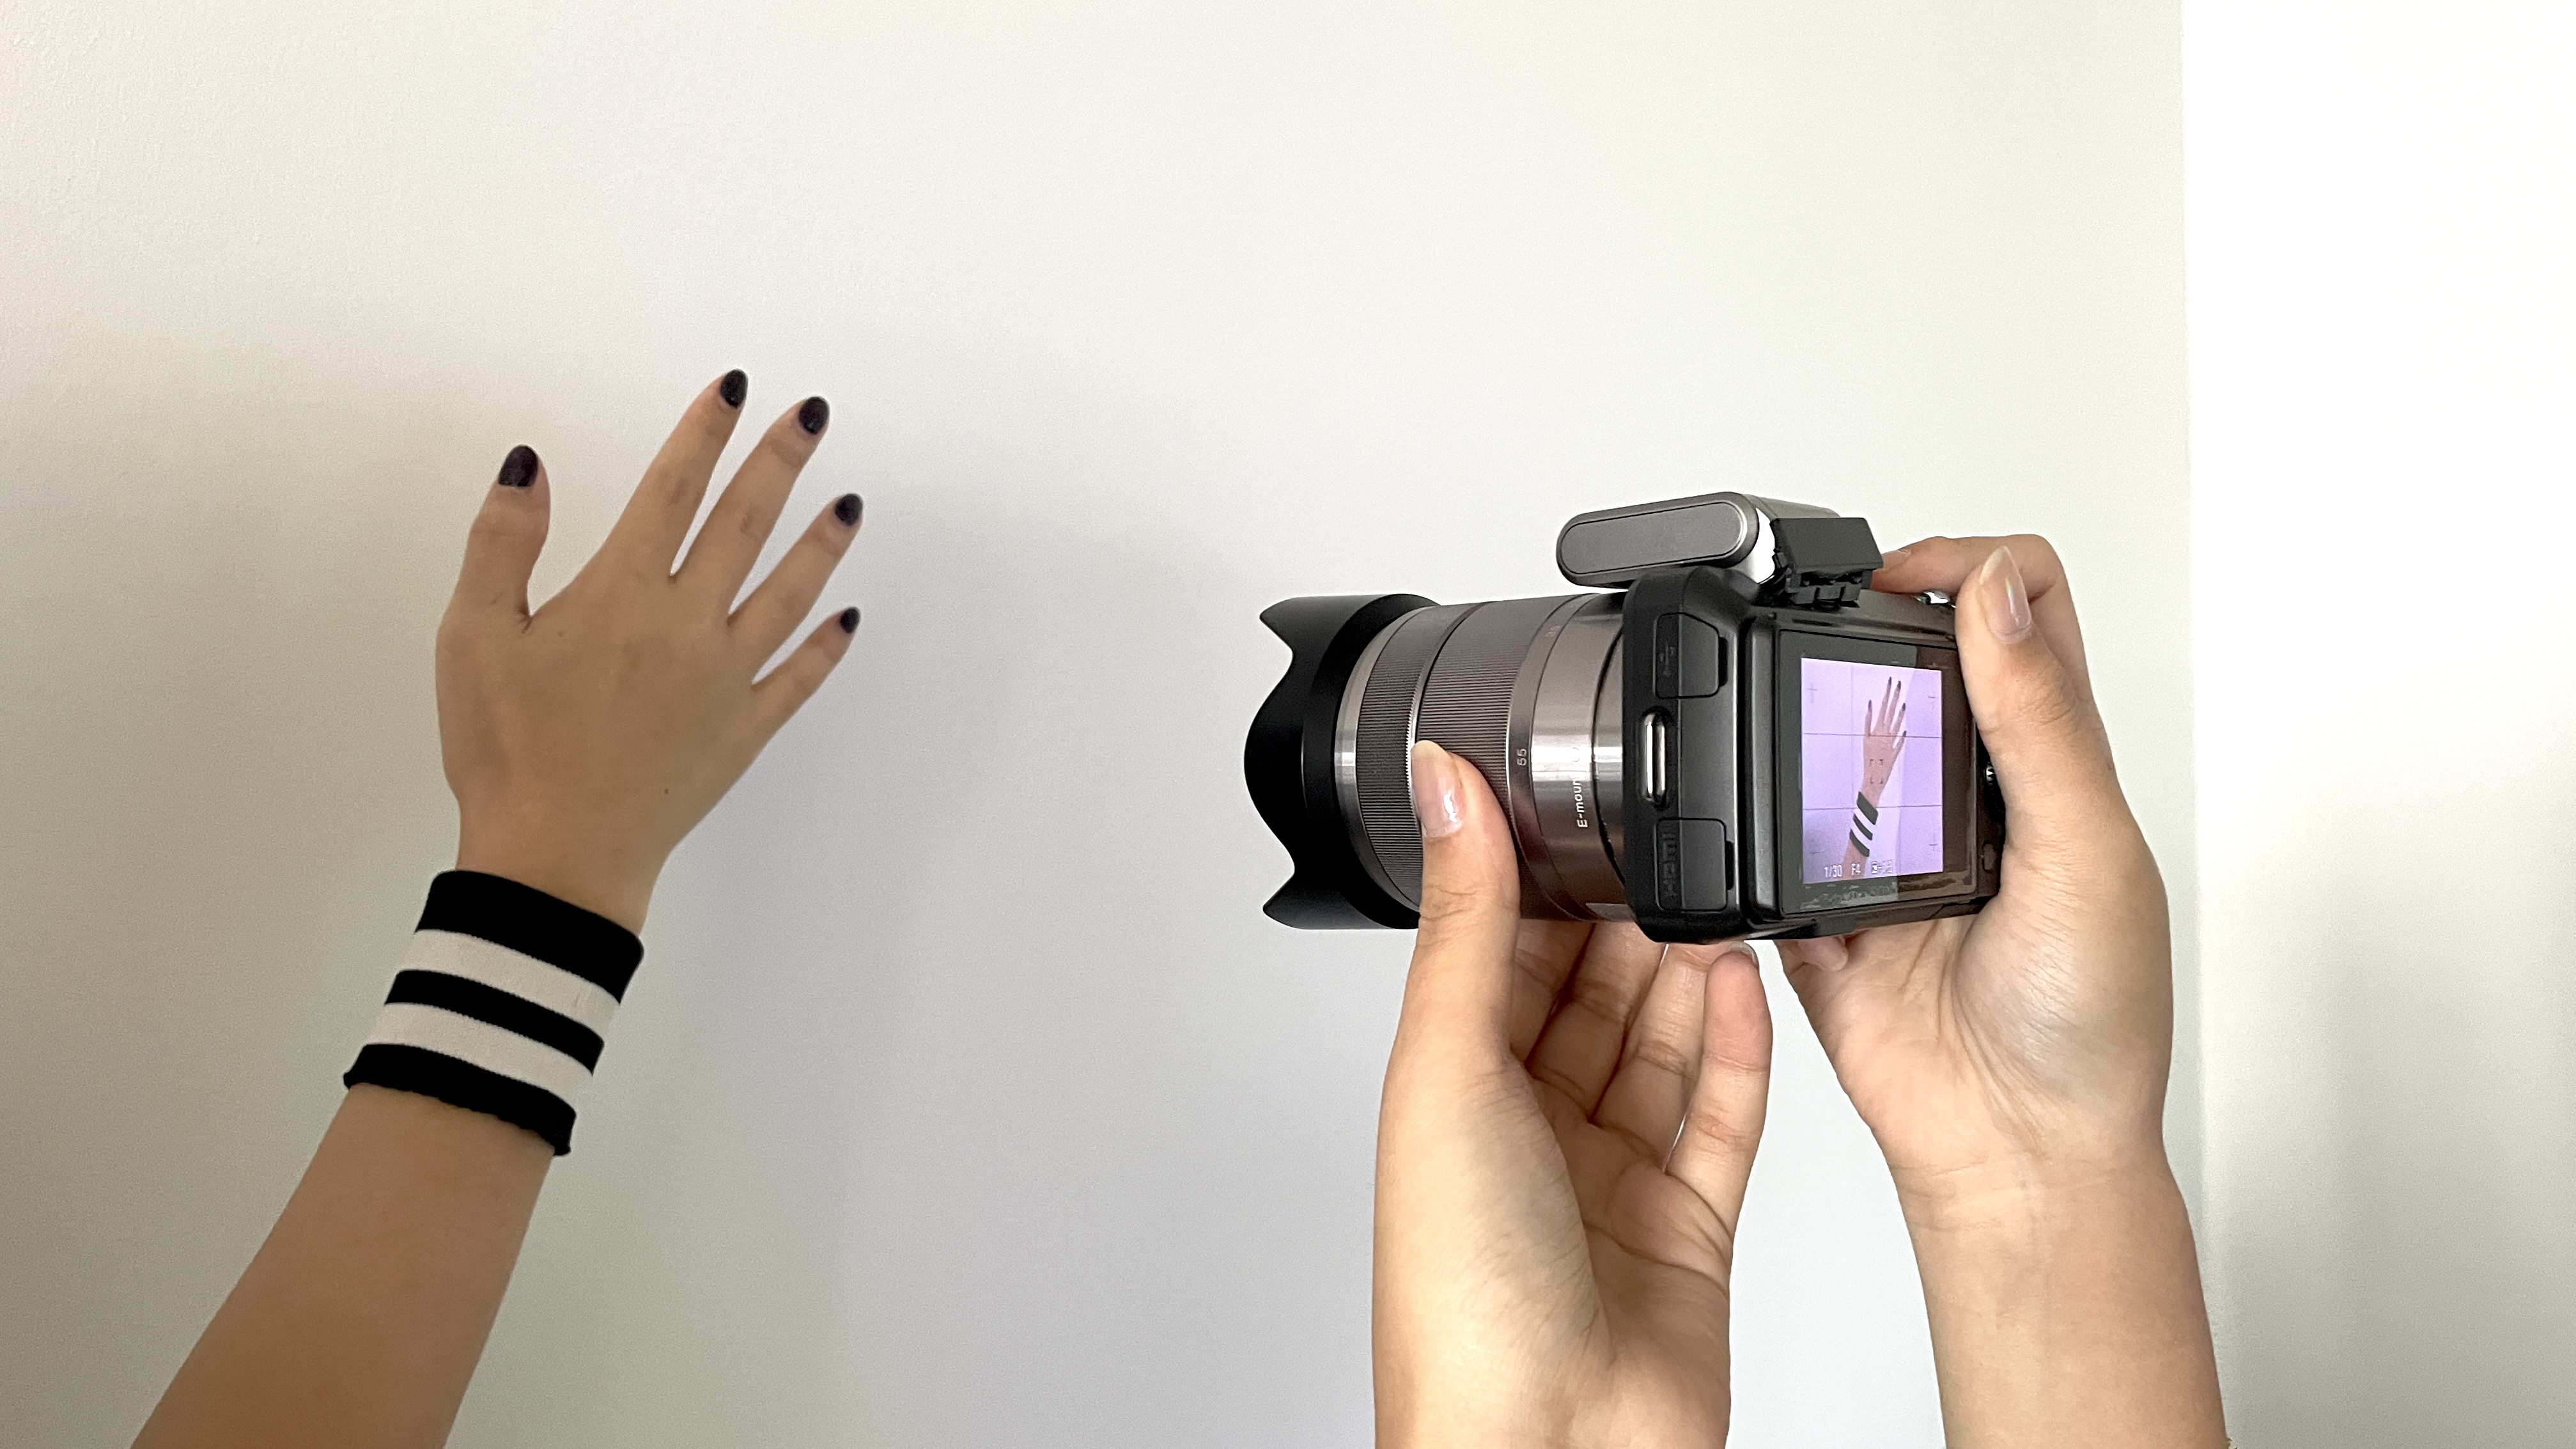
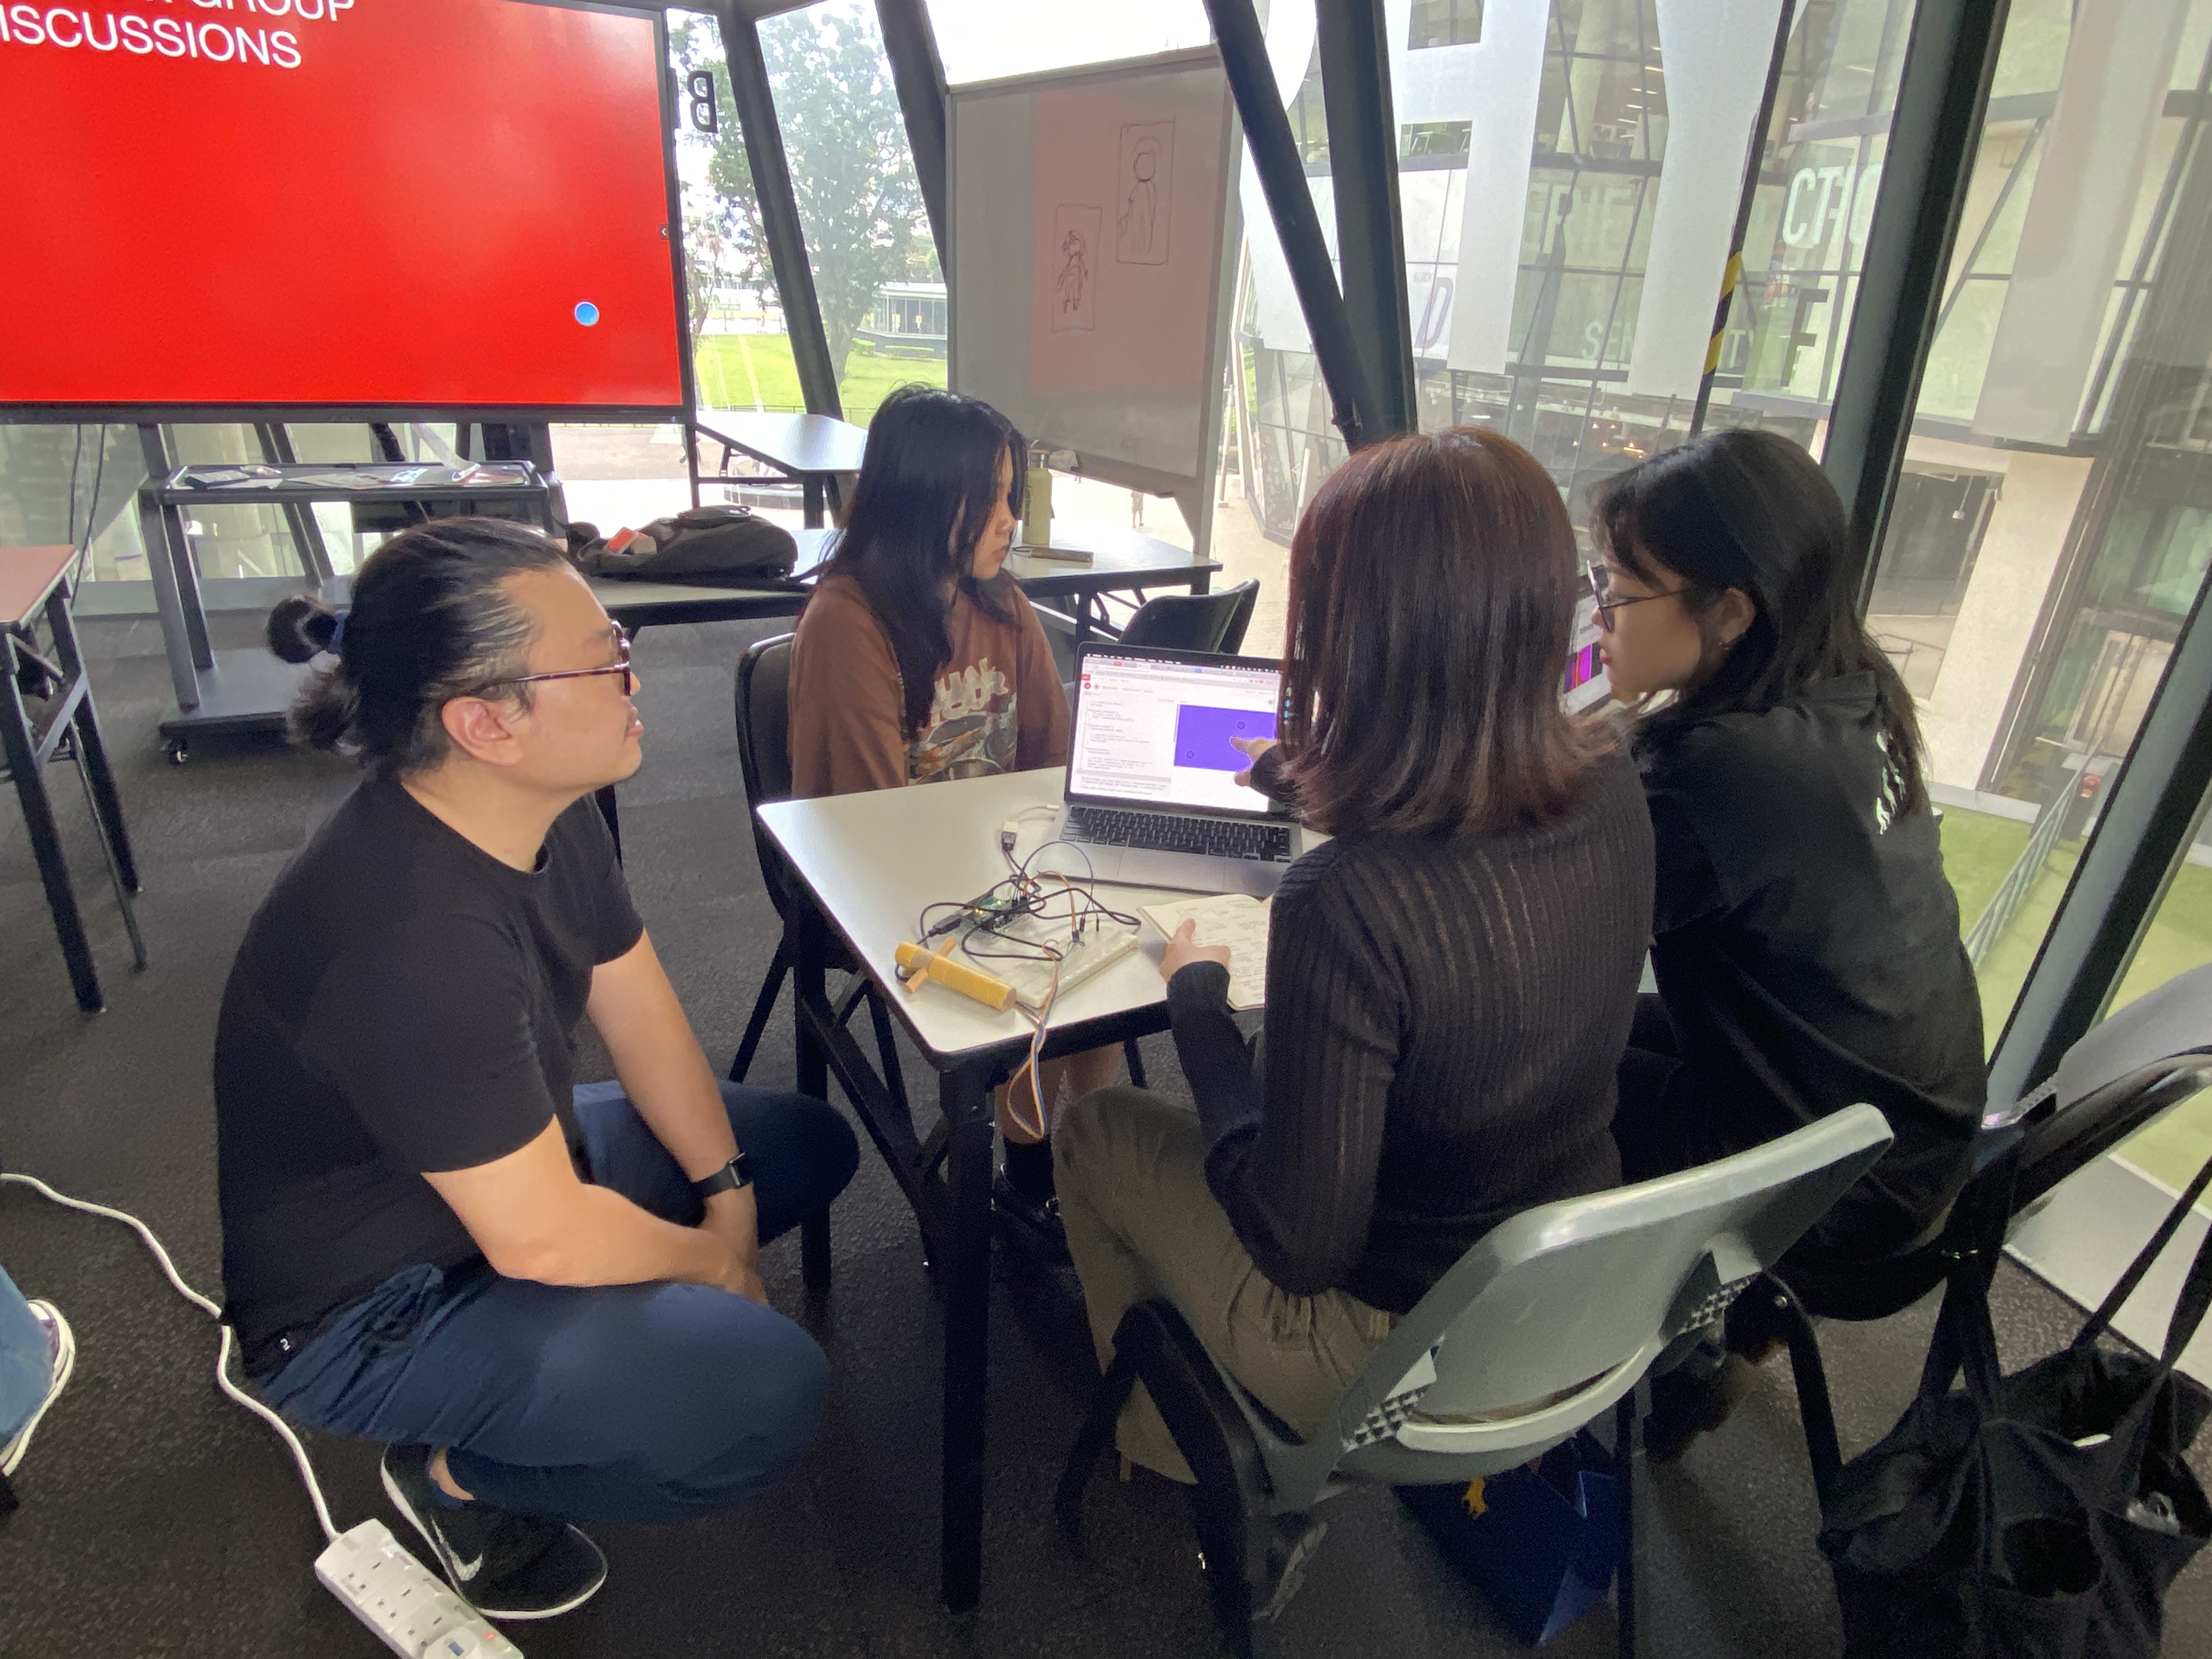
User Testing
Based on the user testing, we discovered that the direction in which the sensor detects movement is dependent on the orientation of the sensor. As such, the actions of the user will not always be displayed as is, it may be mirrored or inverted. This helped us identify a flaw in the experience, that is, that it may not be intuitive for users unfamiliar with virtual reality technologies or those without guidance or prior knowledge as to how our product works. One way to counter this would be to include instructions as to how the wristband should be worn, with regards to orientation, so as to produce the most accurate visual results that are synonymous with the user’s actions and movements.